


Description
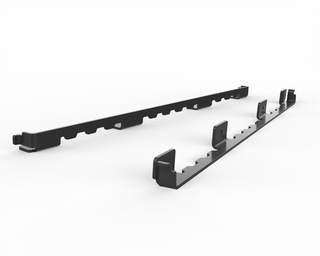
HiveIQ 4-Frame Nucleus Conversion Kit
Expand and manage your colonies with ease.
The HiveIQ Nucleus Conversion Kit lets you convert your existing Deep hive body into a side-by-side 4-frame nucleus hive. Ideal for splitting colonies, introducing new queens, or managing small-scale apiaries. It’s a simple, effective solution for fostering healthy colony growth while keeping your bees organized.
Perfect for:
-
Colony splits
-
Queen introductions
-
Smaller or growing apiaries
Will not stack vertically with additional dividers and hive bodies.
Order now and elevate your beekeeping.
Instructions
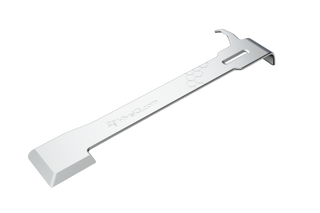
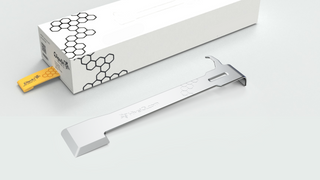
Step 1: Slot the NUC entrance reducer into the base, just behind the entrance, like you would a mouse guard.
Step 2 (optional): Secure the reducer in place with a screw. (screw size: #6, 1", flat head, zinc - not included). Center screw is all that's needed.
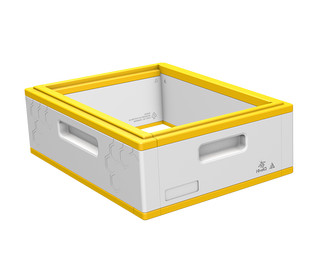
Step 3: Place the deep hive body on the base.
Step 4: Insert the divider into the deep hive body, making sure it slots securely into the channel of the entrance reducer. The tapered end should face the back to ensure the divider sits flush with the floor.
Step 5: Add frames of bees, brood, and honey to each side of the divider to create a new colony.
Step 6: Place the lid on top and secure the hive using a strap or hive weight.
Storage instructions: When not in use, keep divider covered and out of theweather to prevent warping and delamination.
Dispatches in 1-2 business days from 🇺🇸
We've temporarily removed some of our quantity breaks during the free shipping promotion.
Your details are protected and safe with us.
Pairs well with

Description
HiveIQ 4-Frame Nucleus Conversion Kit
Expand and manage your colonies with ease.
The HiveIQ Nucleus Conversion Kit lets you convert your existing Deep hive body into a side-by-side 4-frame nucleus hive. Ideal for splitting colonies, introducing new queens, or managing small-scale apiaries. It’s a simple, effective solution for fostering healthy colony growth while keeping your bees organized.
Perfect for:
-
Colony splits
-
Queen introductions
-
Smaller or growing apiaries
Will not stack vertically with additional dividers and hive bodies.
Order now and elevate your beekeeping.
Instructions
Step 1: Slot the NUC entrance reducer into the base, just behind the entrance, like you would a mouse guard.
Step 2 (optional): Secure the reducer in place with a screw. (screw size: #6, 1", flat head, zinc - not included). Center screw is all that's needed.
Step 3: Place the deep hive body on the base.
Step 4: Insert the divider into the deep hive body, making sure it slots securely into the channel of the entrance reducer. The tapered end should face the back to ensure the divider sits flush with the floor.
Step 5: Add frames of bees, brood, and honey to each side of the divider to create a new colony.
Step 6: Place the lid on top and secure the hive using a strap or hive weight.
Storage instructions: When not in use, keep divider covered and out of theweather to prevent warping and delamination.